RTA Guide/Wet-Dry World: Difference between revisions
Jump to navigation
Jump to search
(Changed the route to put 100c +red first and show the 100c+ secrets has an alternative) |
m (touched up) |
||
| Line 20: | Line 20: | ||
}}'''Wet-Dry World''' is the eleventh course of the game, featuring a "town" with an adjustable water level. By touching any of the [[Crystal Tap|crystal taps]] in the course, the water level is raised or lowered to the height of the tap used. Additionally, Mario's height as he enters the painting determines the water level immediately after entering the course (low, medium, or high). The course has a tunnel with a loading zone to take Mario back and forth between the main area and "downtown". | }}'''Wet-Dry World''' is the eleventh course of the game, featuring a "town" with an adjustable water level. By touching any of the [[Crystal Tap|crystal taps]] in the course, the water level is raised or lowered to the height of the tap used. Additionally, Mario's height as he enters the painting determines the water level immediately after entering the course (low, medium, or high). The course has a tunnel with a loading zone to take Mario back and forth between the main area and "downtown". | ||
== Tips == | == Tips == | ||
* The water level you get when entering the stage depends on the where you enter the painting; enter the bottom of the painting for the lowest water level, the middle for the medium water level, and toward the top for the highest water level. | |||
* The water level you get when entering the stage | |||
== 120 Route == | == 120 Route == | ||
# [[RTA Guide/Quick Race Through Downtown!#Standalone | Quick Race through Downtown]] | # [[RTA Guide/Quick Race Through Downtown!#Standalone | Quick Race through Downtown!]] | ||
# [[RTA Guide/WDW 100 Coins + Go to Town for Red Coins]] | # [[RTA Guide/WDW 100 Coins + Go to Town for Red Coins| Go to Town for Red Coins + 100 Coins]] | ||
# [[RTA Guide/Express Elevator--Hurry Up!|Express Elevator--Hurry Up!]] | # [[RTA Guide/Express Elevator--Hurry Up!|Express Elevator--Hurry Up!]] | ||
# [[RTA Guide/Top o' the Town|Top o' the Town]] | # [[RTA Guide/Top o' the Town|Top o' the Town]] | ||
# [[RTA Guide/Secrets in the Shallows & Sky]] | # [[RTA Guide/Secrets in the Shallows & Sky|Secrets in the Shallows & Sky]] | ||
# [[RTA Guide/Shocking Arrow Lifts!|Shocking Arrow Lifts!]] | # [[RTA Guide/Shocking Arrow Lifts!|Shocking Arrow Lifts!]] | ||
== 120 Route (Beginner) == | == 120 Route (Beginner) == | ||
Replace stars 2 and 5 with the following | ''This route is around 7-8 seconds slower than the standard route.'' | ||
# [[RTA Guide/WDW 100 Coins | * Replace stars 2 and 5 with the following: | ||
# [[RTA Guide/WDW 100 Coins + Secrets in the Shallows & Sky|Secrets in the Shallows & Sky + 100 Coins]] | |||
# [[RTA Guide/Go to Town for Red Coins|Go to Town for Red Coins]] | # [[RTA Guide/Go to Town for Red Coins|Go to Town for Red Coins]] | ||
== 70 Route == | == 70 Route == | ||
# [[RTA Guide/WDW 100 Coins | # [[RTA Guide/WDW 100 Coins + Secrets in the Shallows & Sky|Secrets in the Shallows & Sky + 100 Coins]] | ||
# [[RTA Guide/Express Elevator--Hurry Up!|Express Elevator--Hurry Up!]] | # [[RTA Guide/Express Elevator--Hurry Up!|Express Elevator--Hurry Up!]] | ||
# [[RTA Guide/Top o' the Town|Top o' the Town]] | # [[RTA Guide/Top o' the Town|Top o' the Town]] | ||
# [[RTA Guide/Shocking Arrow Lifts!|Shocking Arrow Lifts!]] | # [[RTA Guide/Shocking Arrow Lifts!|Shocking Arrow Lifts!]] | ||
{{RTA Guide Nav}} | {{RTA Guide Nav}} | ||
Revision as of 03:09, 30 March 2023
| Wet-Dry World | |

| |
| Course Info | |
| Abbreviation | WDW |
| Terrain | Default/Water |
| Setting | Sunny |
| Water | Mostly |
| Course Items | |
| Coins | 135 ( |
| Enemy Coins | 17 ( |
| Stars | |
| Caps | |
| Star Navigation | |
| Overview | |

| |

| |

| |
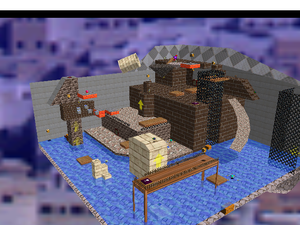
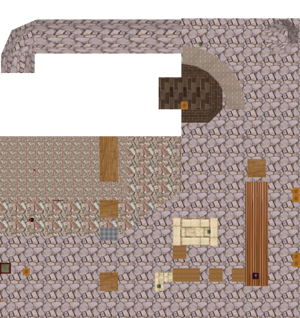
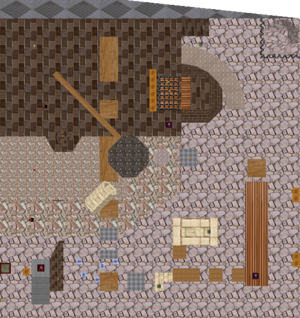
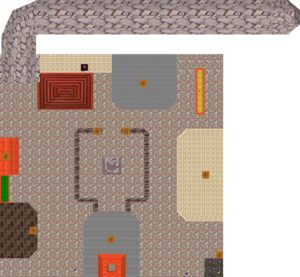
Wet-Dry World is the eleventh course of the game, featuring a "town" with an adjustable water level. By touching any of the crystal taps in the course, the water level is raised or lowered to the height of the tap used. Additionally, Mario's height as he enters the painting determines the water level immediately after entering the course (low, medium, or high). The course has a tunnel with a loading zone to take Mario back and forth between the main area and "downtown".
Tips
- The water level you get when entering the stage depends on the where you enter the painting; enter the bottom of the painting for the lowest water level, the middle for the medium water level, and toward the top for the highest water level.
120 Route
- Quick Race through Downtown!
- Go to Town for Red Coins + 100 Coins
- Express Elevator--Hurry Up!
- Top o' the Town
- Secrets in the Shallows & Sky
- Shocking Arrow Lifts!
120 Route (Beginner)
This route is around 7-8 seconds slower than the standard route.
- Replace stars 2 and 5 with the following:
70 Route
- Secrets in the Shallows & Sky + 100 Coins
- Express Elevator--Hurry Up!
- Top o' the Town
- Shocking Arrow Lifts!
| |||||||||||||||||||||||||||||||||||||||||||||||||||||||||||||||||