RTA Guide/Bowser in the Sky: Difference between revisions
Jump to navigation
Jump to search
(→Ultimate Cycle: changed video link to better ending input display video) |
(→No Reds: - remove redundant videos, rename sections (TODO: get better video for longjump strat)) |
||
| Line 20: | Line 20: | ||
== No Reds == | == No Reds == | ||
=== Beginner === | === Beginner (Pole) === | ||
{{#ev:youtube|Z3I2G-j9D-Y}} | {{#ev:youtube|Z3I2G-j9D-Y}} | ||
| Line 37: | Line 37: | ||
{{#ev:youtube|761Y9WE_wzk}} | {{#ev:youtube|761Y9WE_wzk}} | ||
=== Ultimate | ==== Ultimate Ending (Input Display) ==== | ||
{{#ev:youtube|Yw2PqNnln5Q}} | {{#ev:youtube|Yw2PqNnln5Q}} | ||
=== Alternate LJ Strat === | ==== Alternate LJ Strat ==== | ||
{{#ev:youtube|tuFI__LM6YM|||||start=360}} | {{#ev:youtube|tuFI__LM6YM|||||start=360}} | ||
Revision as of 21:52, 12 March 2021
Bowser in the Sky is located on the third floor behind 70 Star Door. 70 stars are needed to access it without the use of a BLJ.
Reds
Beginner
Alternative Ending Movement
Advanced
Invisible Axis Position
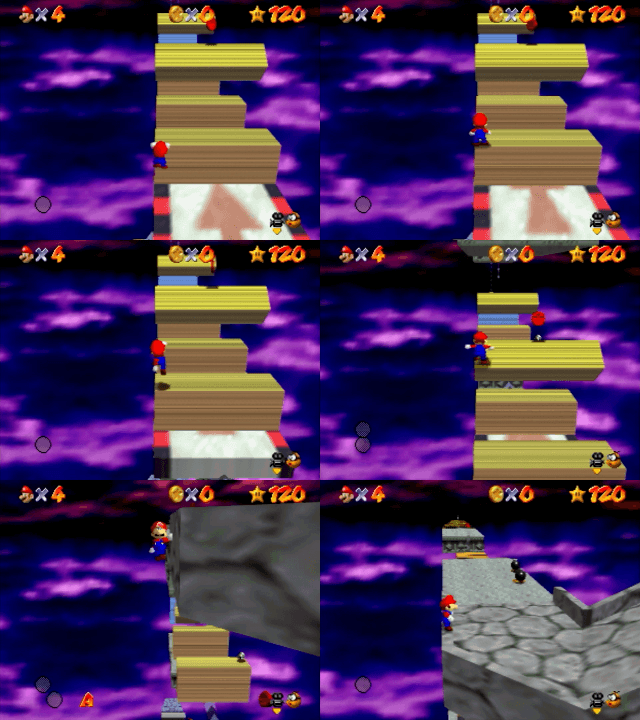
The visual axis isn't aligned with the actual hitbox of the axis, if you are going for early cycle you may encounter issues with it. This clip shows where it is actually located on this cycle.
Invisible Axis Position 2
Same as with the other elevator, this is relevant for early cycle or when you have missed four cycles.
No Reds
Beginner (Pole)
Intermediate
Advanced
Expert
Manamo Cycle
Ultimate Ending (Input Display)
Alternate LJ Strat
Bowser Throws
Tutorial
Bomb Order 1
Bomb Order 2 (with hand cam)
| |||||||||||||||||||||||||||||||||||||||||||||||||||||||||||||||||
